Sunday, December 16, 2012

Thumbprint Snowmen Ornaments


This week's great idea comes from Christy Rawls (KissyLiz.com) who happens to be mom to one of my grandsons!  

 For grandparents and parents of little ones, wouldn't this be a great way to chronicle your holidays together?


These are snowman thumbprint ornaments!  Here is Christy's description:

"Super easy to do. Just thick white paper (I put mine on wooden ovals that I picked up at [a local hobby store]), thumb prints, felt tip marker and some clear con-tact paper to cover it up with when it's done so that hopefully these will last a while. Then glued ribbon loops to the top. Wish I had thought of this when [my son]was itty bitty and I could have made one each year!"

Adding to Christy's instructions I would probably pick up a stamp ink pad if you don't already have one and try some decoupage glue on a few.  Even a snowflake stamp or some stickers might be fun!

Thanks, Christy! 

Tuesday, December 4, 2012

Upcycled Sweater Hats

In my previous post I showed you how to make a hat from an old sweater.  Here are some more examples of what you can make with a sweater and about an hour of your time!
To learn how easy it is to make a hat, scroll down to the tutorial.  If you make a hat, send me your story and photos. I'll be happy to post them for you!


Wednesday, November 28, 2012

Upcycle a Sweater into a Hat (or two.. or three)

I just made this stocking cap from a thrift store sweater.  I'm a thrift store junkie.  I love to browse through aisles of cast off items and imagine them repurposed and given a new life. 

One item I like to look for especially is an acrylic sweater with a nice finished edge and a woven design near the hem.  I can usually get two hats out of a sweater, sometimes three (depending on the size of the arms.) 

Acrylic knit doesn't unravel easily and can be cut and worked with with little trouble or mess.

I forgot to take a photo of the whole sweater before I started cutting away, but here you see that I've cut two square pieces, slicing down the middle of the sweater.  In this way, I can use a side seam as one finished seam to the hat.  I had also already cut off the arms.  I have enough here for two hats.

This is the website I use to determine how big the had should be at the finished edge: http://www.bevscountrycottage.com/size-chart.html#hat  In this case the finished hat is 20" circumference.

The easiest hat to make is to turn a bowl upside down on the square and create a rounded top, leaving the bottom edge finished.  Just sew up one side and over the curve at the top and you have a nice ski cap!  In the photo to the left you see the wrong side of another hat where I'd rounded the corners.

From the sweater I bought today, though, I thought I'd use the arms as part of the hat and make stocking caps!  Let me show you how...

First sew up the side opposite the already finished side seam from the sweater.  Make sure to catch in any loose threads and finish the seam.  Sergers work nicely here.  I'd use one if I had one!  When you are finished with the seam, tack the seam down to one side to give the edge a more finished look.

Now you have the bottom edge already finished thanks to the sweater manufacturer and you have two side seams.  If you cut your square deep enough, you could gather the top  on the inside and add a pom pom and be done.  However, we are going to use the arm to make a stocking end of this hat.


Place the arm inside the hat, right sides together.  You may have to stretch it a bit to make it fit.  Sew and finish the seam.

Keeping that hat wrong side out, gather the edge of the stocking part (the wrist of the sleeve) and secure it tightly.


After getting this far, I decided I'd like a little more thickness over the ears so I turned the edge to the inside about 4 inches and sewed it down.  Now whoever wears this hat will have very warm ears!


Turn the hat right side out and add a pom pom.  Voila! Stocking cap that looks (almost) like you knitted it!

Just in case you need a little reminder how to make a pom pom:

Wrap yarn around a card until very thick- about 35-50 times.  I used a card from a seam binding package.  The card should be almost twice as long as you want the width of the finished pom pom to be.


Carefully slide the loops off of the card and tie them tightly in the middle with the same yarn.


Cut the loops and trim about 1/3 of the yarn off of the pom pom until you have a fairly tight little ball.


Do you have any other uses for an old sweater?  Please share them with us!

Tuesday, November 27, 2012

Fabric Remnants = Inspiration

odd and ends

The other day I was looking for inspiration for my next project.

While rummaging through some fabric stashed in a drawer I found several red flannel plaid pieces I'd planned on using for newsboy hats, some corduroy left over from a pair of overalls I made earlier and some tulle from a Halloween project.  Later I also found a cotton print of red plaid moose scattered on a black field.

I played around with ideas such as a baby grab ball or some kind of moose in a tulle tutu  (which I may still do!).

However, in a box on a shelf I have some vintage patterns.  So I took down the box and flipped through the envelopes.  A 50's pattern for a crinoline caught my attention.  It had rows of ruffles on a full circle skirt, perfect for the quarter yards of fabric I had on  hand.

I ended up with this creation- a corduroy skirt with a moose ruffle and a flannel plaid ruffle, layered over 4" eyelet lace.

I'm going to take this skirt to a craft fair in a few weeks and see what people think.  What will you make from your left overs?  I'd love to see the result of your inspirational remnants!

Saturday, November 17, 2012

Tube Turning Tip

One of the joys of sewing for all age groups is making a fabric tube and then turning it inside out.  I've been known to double fold and sew the edge rather than face the daunting task of getting a small tube to thread through itself.  I'll bet you share this frustration!

Tube turning gadget
Today, I faced that task yet again as I was turning the strap on a fleece muff.  I have this handy little gadget to help me turn a tube, but often there is nothing to fasten the top hook to.  I've tried making a thread loop and I have even been known to make a hole in the seam to thread the hook through.  Today though I thought of a new and much better method.  I hope you'll think so, too.

hook at the top of the gadget
You'll need to use your imagination on the first part which is to insert the gadget into one end of the unturned tube first until the hook on the top comes through the other end.  I forgot to photograph that step!
Hold on to the loop handle as you insert it and make sure it doesn't get lost inside the tube.  Most tubes are small enough that wouldn't be a problem, but this tube was wider than most.

Hook the gadget to a safety pin woven through the seam allowance
This time I fastened a safety pen through the seam allowance- weaving it through so it would hold without tearing the fleece.  Then I hooked the gadget to the safety pin and pulled.  Wow! That was the fastest tube turn I've ever done!  As long as you have a safety pin small enough to slide through your tube, this tip should work for you, too.
and pull!


I'd love to hear  your tips for sewing for children.  I'm looking for guest bloggers. Leave a comment and you could be posting your tip here, too!

Wednesday, October 24, 2012

Faux Fur Tip

Bunny fur hat from BabyDerby on Etsy.com
Muff from BabyDerby on Etsy.com
Feathers and Fur.  I've been working with both a lot lately!  One of my favorite hats to make for little girls in the winter is this bunny fur hat with pom pom ties.


While I was making a faux fur hat recently, I thought about you and that you might like this idea. It works so well for me when working with fur.  There are a lot of tips online about tearing fur and sewing fur but I've not seen this tip.

Fuzzy edges on cut fur
If you read about working with fur, you will be told to tear, not cut.  However, not all pattern shapes can be torn.  If you are making a stuffed animal or clothing item, you'll have curves on your pattern.  No matter how careful you are, there will be loose pieces of fur flying when you are done cutting.  

Use wet fingers to corral loose fur
Use my water tip to corral those fly-aways (see previous post for that tip!)  After you pull the loose fur off  and before you start to sew, find some lining, muslin, interfacing or other non-stretch fabric.


Lay each cut piece of fur on that fabric, wrong sides together, and cut a  piece of fabric slightly larger than the cut fur piece. 


sew fur to lining or fabric wrong sides together close to edge
Now sew each fabric piece to the matching fur, wrong sides together, 1/8 - 1/4" from the edge.  This will keep the fur from moving or shedding and keep the fur backing from stretching while you work with it.  

edges will be easier to work with


Trim the excess fabric from the fur pattern piece.  The pattern pieces will now fit together much better and be easier to pin and sew.


 For hats and other clothing items you can then just serge the seams or sew and zig-zag the edges for a finished look.  For animals or clothing items, you've added stability and made them easier to stuff.


 I wish you fun and success on  your next faux fur project!


Tuesday, October 16, 2012

Working with Feathers: Goose Down

It's been a while since I've been here with you!  This time of year means lots of costume orders for me, so I've been knee deep in vampire capes and princess dresses!

However, I did take a day off to help my daughter add 12 inches to a down comforter.  We'd been putting this off since last spring, because the weather got warmer for one reason, but fear was another!

Once we'd decided the best way to increase the width of this queen size comforter was to add another  row of matching 'squares' to the already existing ones, we had the curious dilemma of finding goose down.  It's not as easy as one might think.  We priced pillows and jackets, hoping to steal the stuffing, but that was cost prohibitive.  After repeated searches, we finally found it sold by the pound on an online auction site.

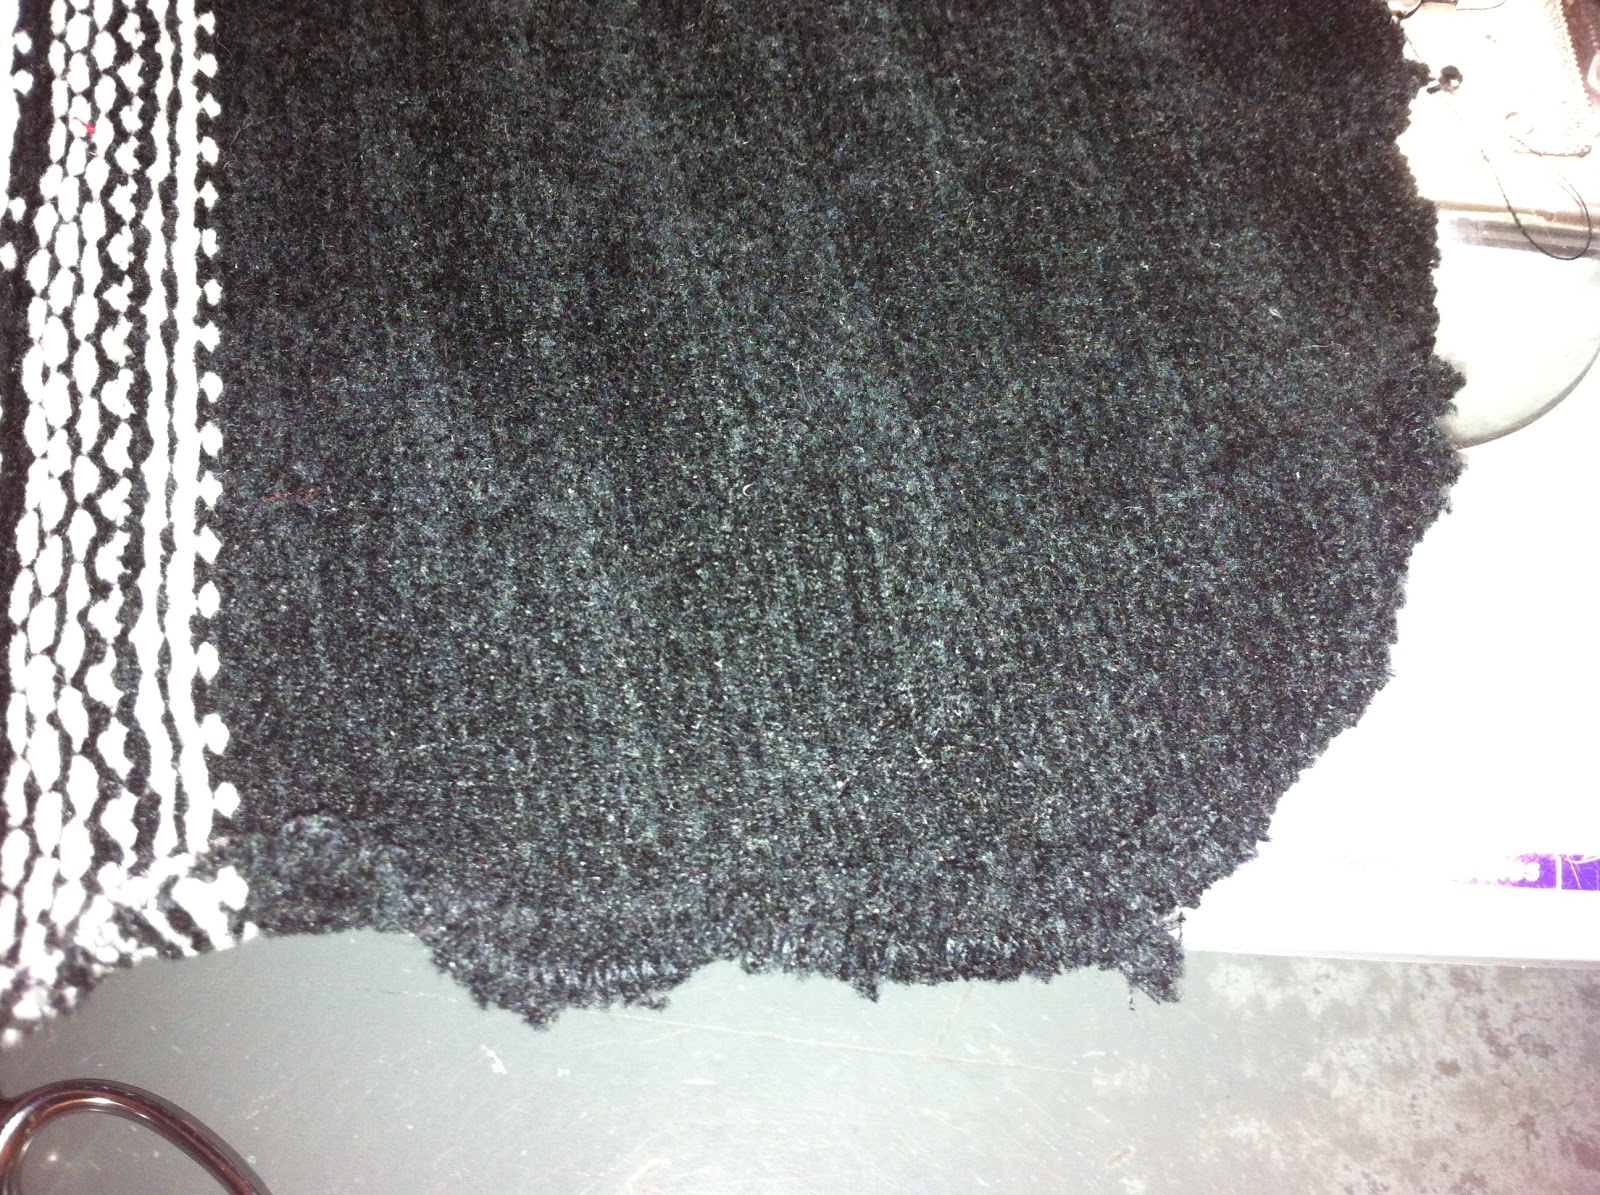
Goose down in its natural state
Now, we wondered, how much volume is in a pound of feathers?  We ordered a pound.  In a few days we had a priority mail medium sized flat rate box stuffed full of feathers!  Enough to make a full comforter, as we would find out.

This box sat on my cutting table, then ironing board, then dresser.. you get the idea.

Finally, I dedicated a day to getting the project done.  I found a queen size sheet, and cut a 13 inch strip down the sides to create the squares.  (Don't fret about the fate of the sheet- it's now twin size!)


After measuring and double checking I sewed the side seams, marked the squares and began stuffing the feathers into the squares.
That was when the real fun began!
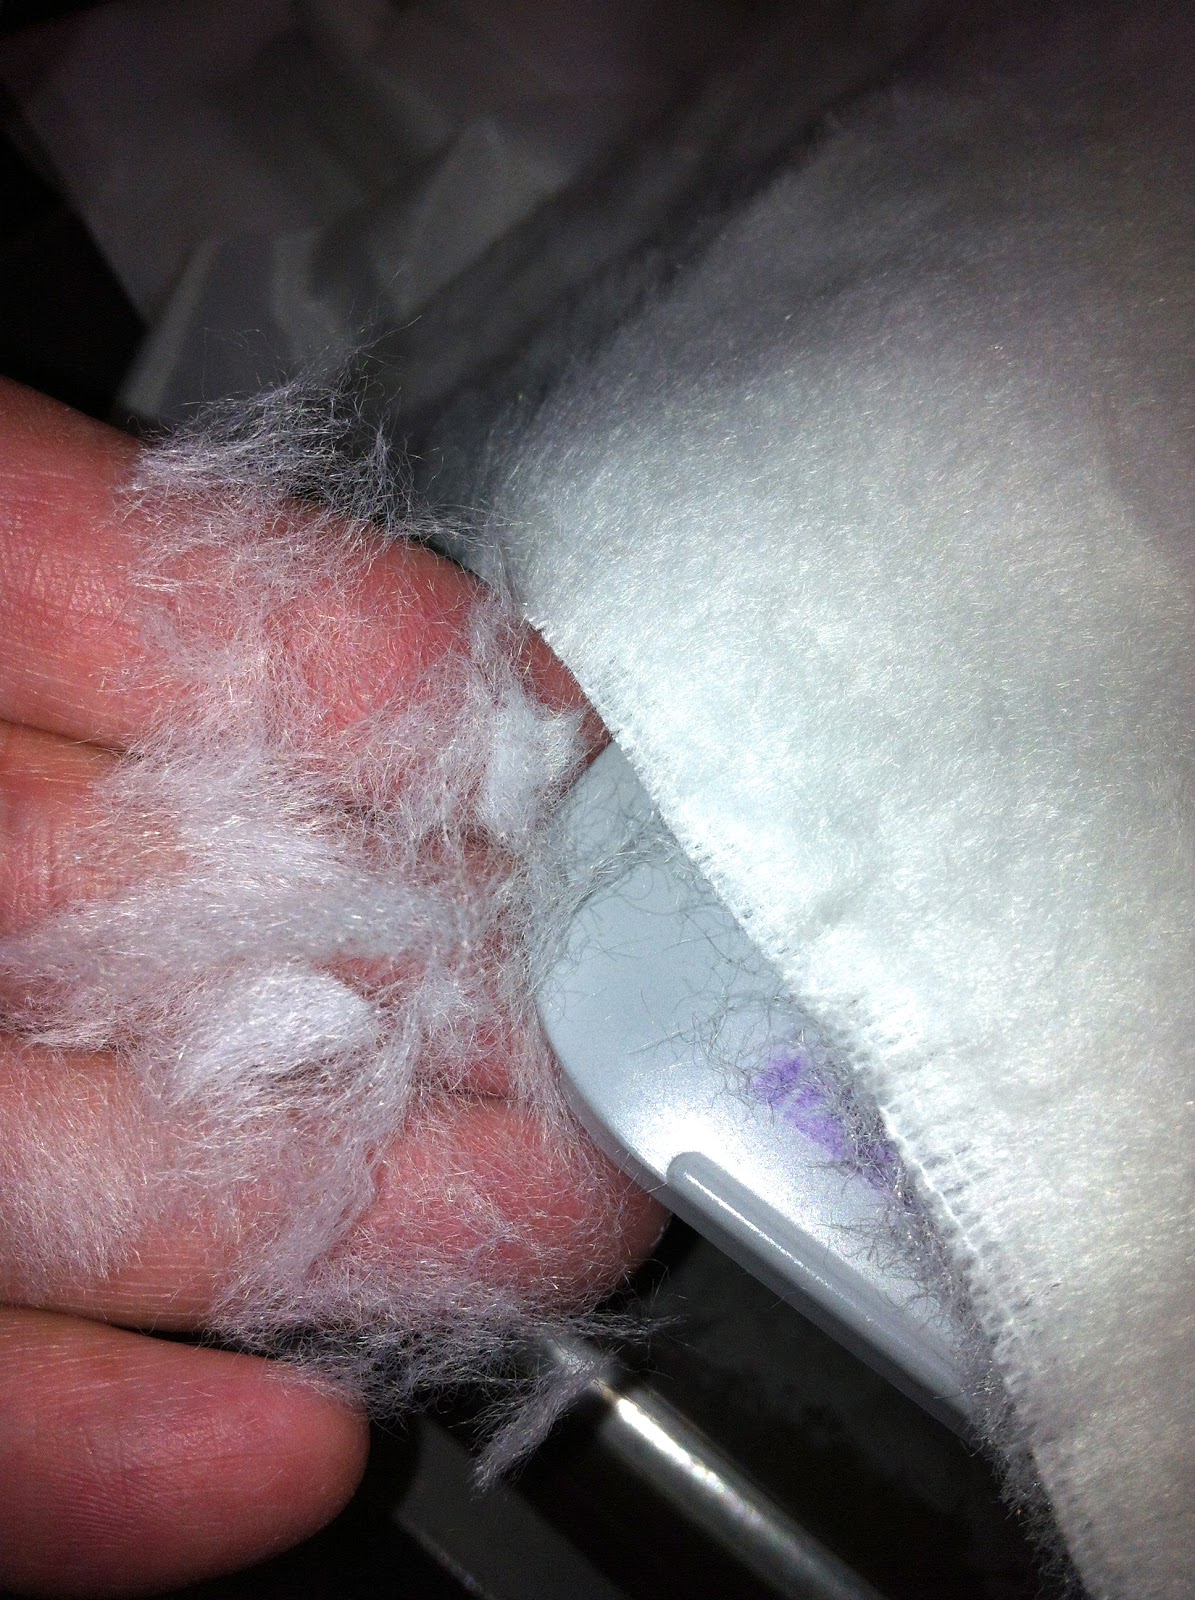
recommended gloves and mask

Did I tell you that I'm allergic to feathers?  No?  Well, I am.  So I donned vinyl gloves and a mask, reached into the feathers and tried to stuff them in a 13 inch opening.  That should have been a piece of cake.

No. It wasn't.  

Feathers and feather dust and probably some dead goose skin cells were flying everywhere.

First rule of working with goose down:  Close the windows.  Turn off the furnace fan.  Shut the door.

Once I reduced the air circulation in the room, I tried again. Better, but still a lot of feathers flying.  I didn't relish having to pick them up  or waste the money I spent on them by vacuuming them.

How to add weight to feathers?

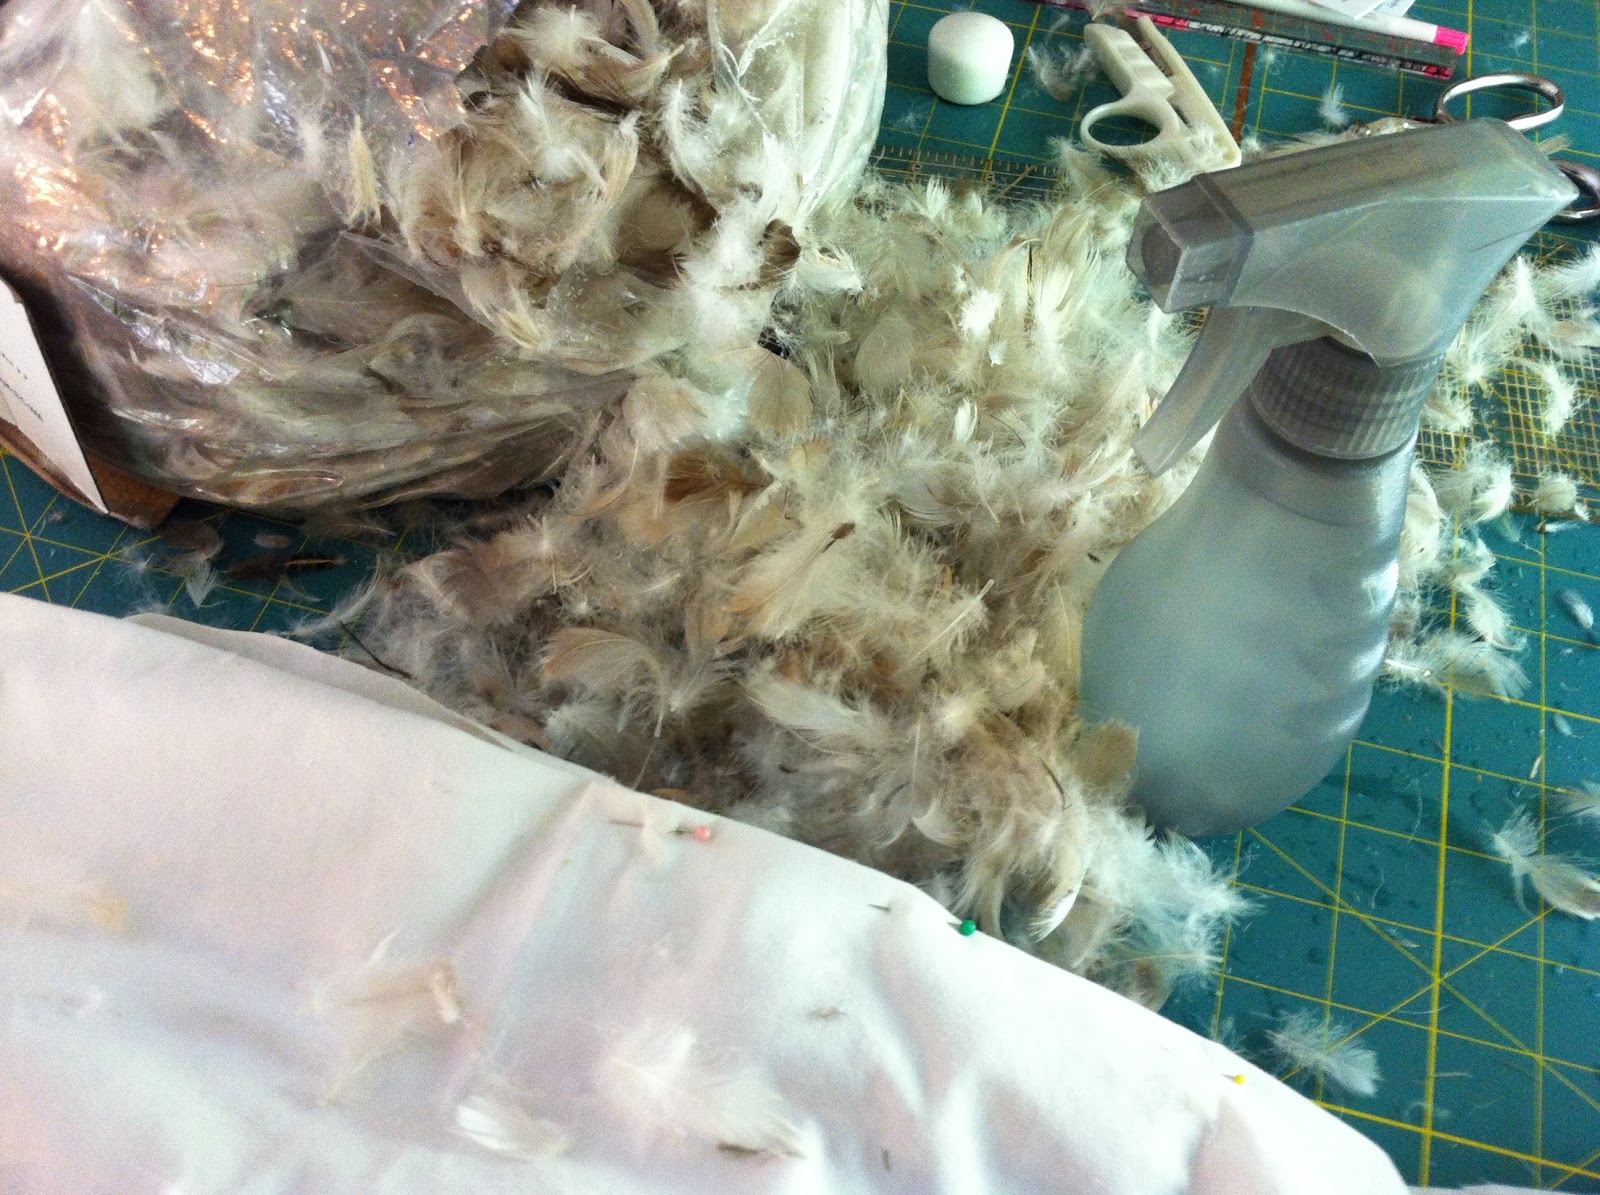
keep a spritz bottle of water handy- makes clean up easier, too!
Second rule of working with goose downSpritz the feathers with water before you work with them.

Water gave the feathers weight, kept them together, made it easier to leave them in the opening without flying back out, plus I knew that since geese got rained on occasionally, the feathers should dry ok.

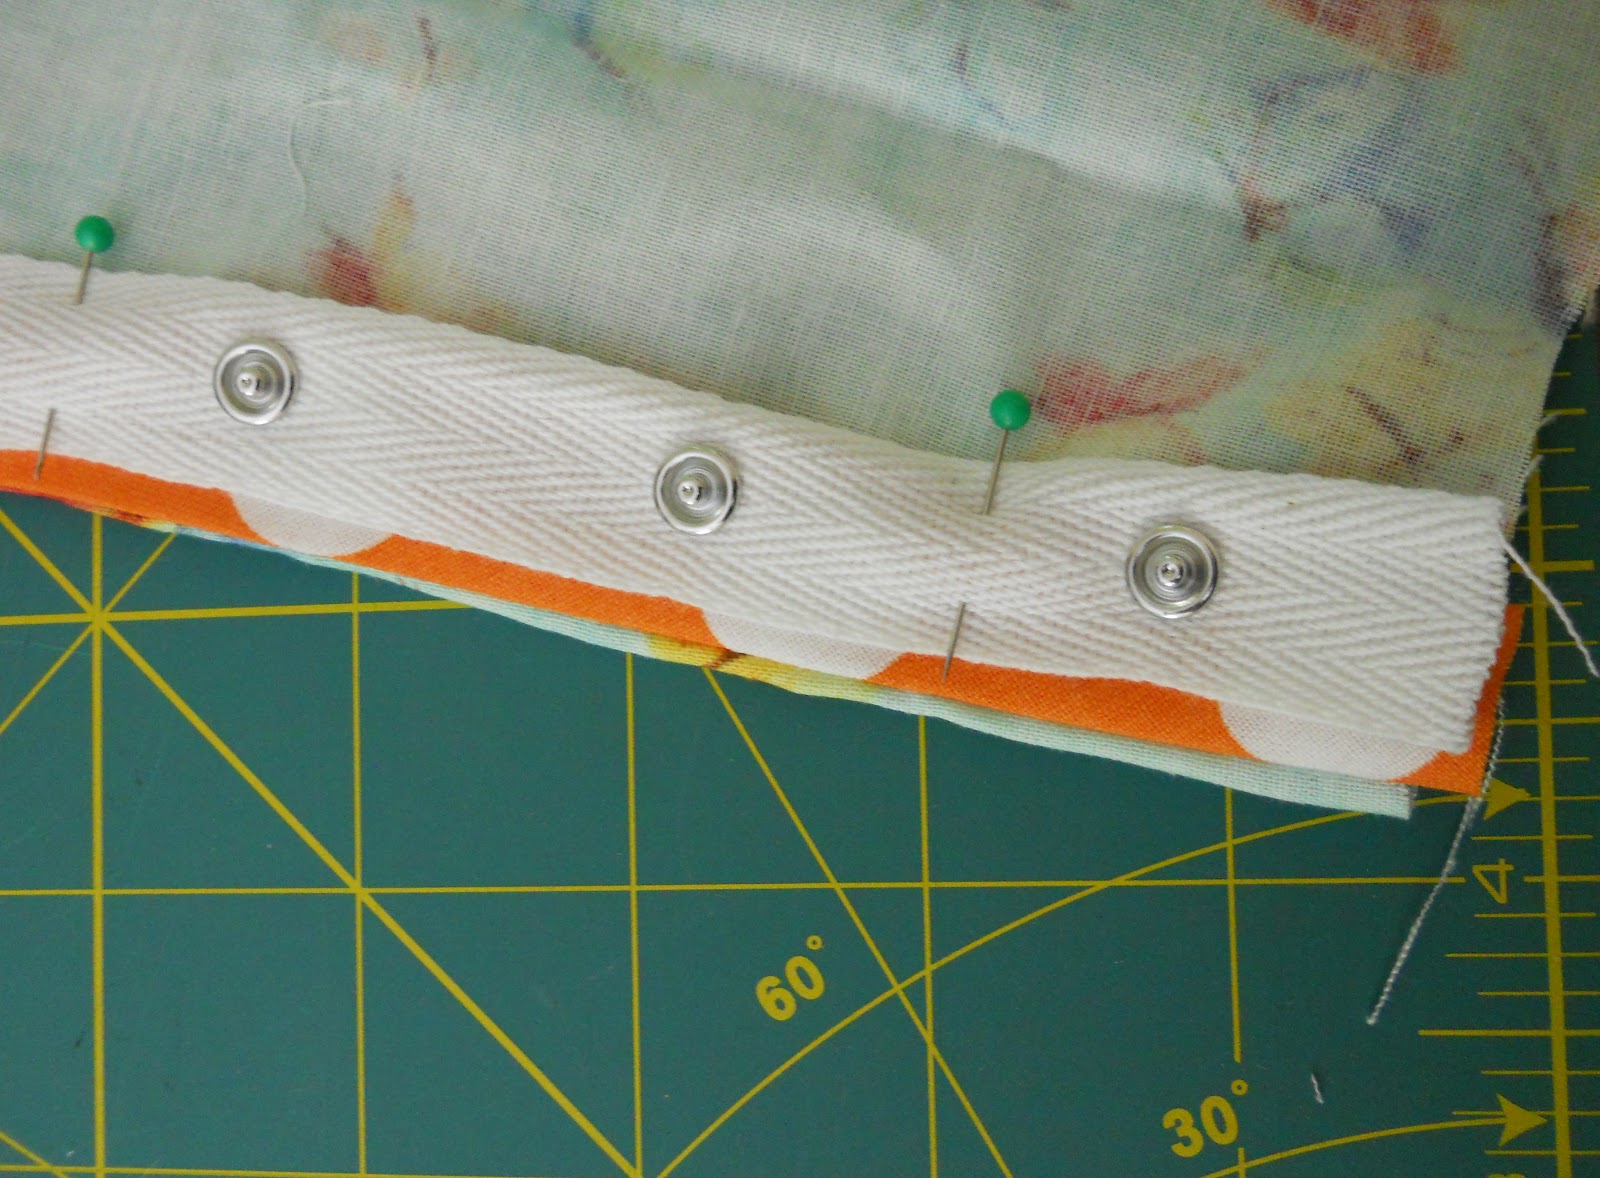
I also found that two handfuls of feathers was just about right for each of the squares.  I pinned them completely closed as I finished each square to keep the feathers in their new home.


The goose down conqueror at work


Finishing the sewing was not a problem and the comforter is now a perfect size! 
Finished comforter- perfect size for a queen!


Sunday, September 23, 2012

Adding Snap Tape to Children's Clothing

Size 12-18 month romper available at BabyDerby.Esty.com


If you are making overalls, a bubble suit or romper, you probably are considering how you will make a quick diaper change possible.  One option is to add snap tape to the inseam.  It may seem tricky and the pattern instructions are often fuzzy at best, so here is a step by step outline of how to add snap tape to the inseam of children's clothing.

In my previous blog entry I talked about where to find snap tape for less than the $10/yard.  The snap tape that is shown in the pictures below was purchased by the yard.  I needed 18 inches for a size 1 romper.

Step 1:
Decide if you want your overlapping edge to face the back or the front. In this case, I lined the overlapping edge with contrasting fabric and wanted it to face the back.

Step 2:
Turn the edge of the fabric under 5/8' to the wrong side.  Pin the snap tape with the bump/ball facing out on the WRONG side of the fabric so that the raw edge will be covered by the snap tape.  Position the tape so that the snaps come out "even" on each leg.

Step 3:
Allow for a hem or edging as required in the instructions.  I usually allow extra tape at each end, trimming after I've sewn both edges.  Using a zipper foot, stitch close the the edge of the snap tape along the edge of the fold.

Step 4:
Move the needle to the other side of the zipper foot and stitch the other side of the tape going in the same direction you went on the first side of the tape. This will keep your fabric from wrinkling or getting waves between the two lines of stitching when viewed from the right side of the fabric.

Step 5:
Finish the snap tape edge near the hem line by stitching 2 rows across the tape abut 1/4 inch apart and then cut the tape close to the outside stitching.


Step 6:
 The other side of the snap tape, the 'hole' side will go on the RIGHT side of the fabric.  Fold and iron the edge of the leg inseam 1/4 inch towards the wrong side of the fabric,  and then fold and iron again the width of the seam tape so that you have a sturdy edge to sew the seam tape to. The folded edge will be toward the wrong side but you will sew on the right side.  I hope this makes sense!

Step 7:
Align the 'hole' side of the snap tape so that the snaps line up with the other side of the inseam.  I find it easiest to align the crotch and work out from there on both legs.  You can also snap up the tape, pin the second side in a few places and then unsnap it.

Follow steps 2 through 4 to complete the second side of the snap tape.  All you need now is to finish the hem and you are done!