 |
| Size 12-18 month romper available at BabyDerby.Esty.com |
If you are making overalls, a bubble suit or romper, you probably are considering how you will make a quick diaper change possible. One option is to add snap tape to the inseam. It may seem tricky and the pattern instructions are often fuzzy at best, so here is a step by step outline of how to add snap tape to the inseam of children's clothing.
In my previous blog entry I talked about where to find snap tape for less than the $10/yard. The snap tape that is shown in the pictures below was purchased by the yard. I needed 18 inches for a size 1 romper.
Step 1:
Decide if you want your overlapping edge to face the back or the front. In this case, I lined the overlapping edge with contrasting fabric and wanted it to face the back.

Turn the edge of the fabric under 5/8' to the wrong side. Pin the snap tape with the bump/ball facing out on the WRONG side of the fabric so that the raw edge will be covered by the snap tape. Position the tape so that the snaps come out "even" on each leg.

Allow for a hem or edging as required in the instructions. I usually allow extra tape at each end, trimming after I've sewn both edges. Using a zipper foot, stitch close the the edge of the snap tape along the edge of the fold.
Step 4:
 Move the needle to the other side of the zipper foot and stitch the other side of the tape going in the same direction you went on the first side of the tape. This will keep your fabric from wrinkling or getting waves between the two lines of stitching when viewed from the right side of the fabric.
Step 5:
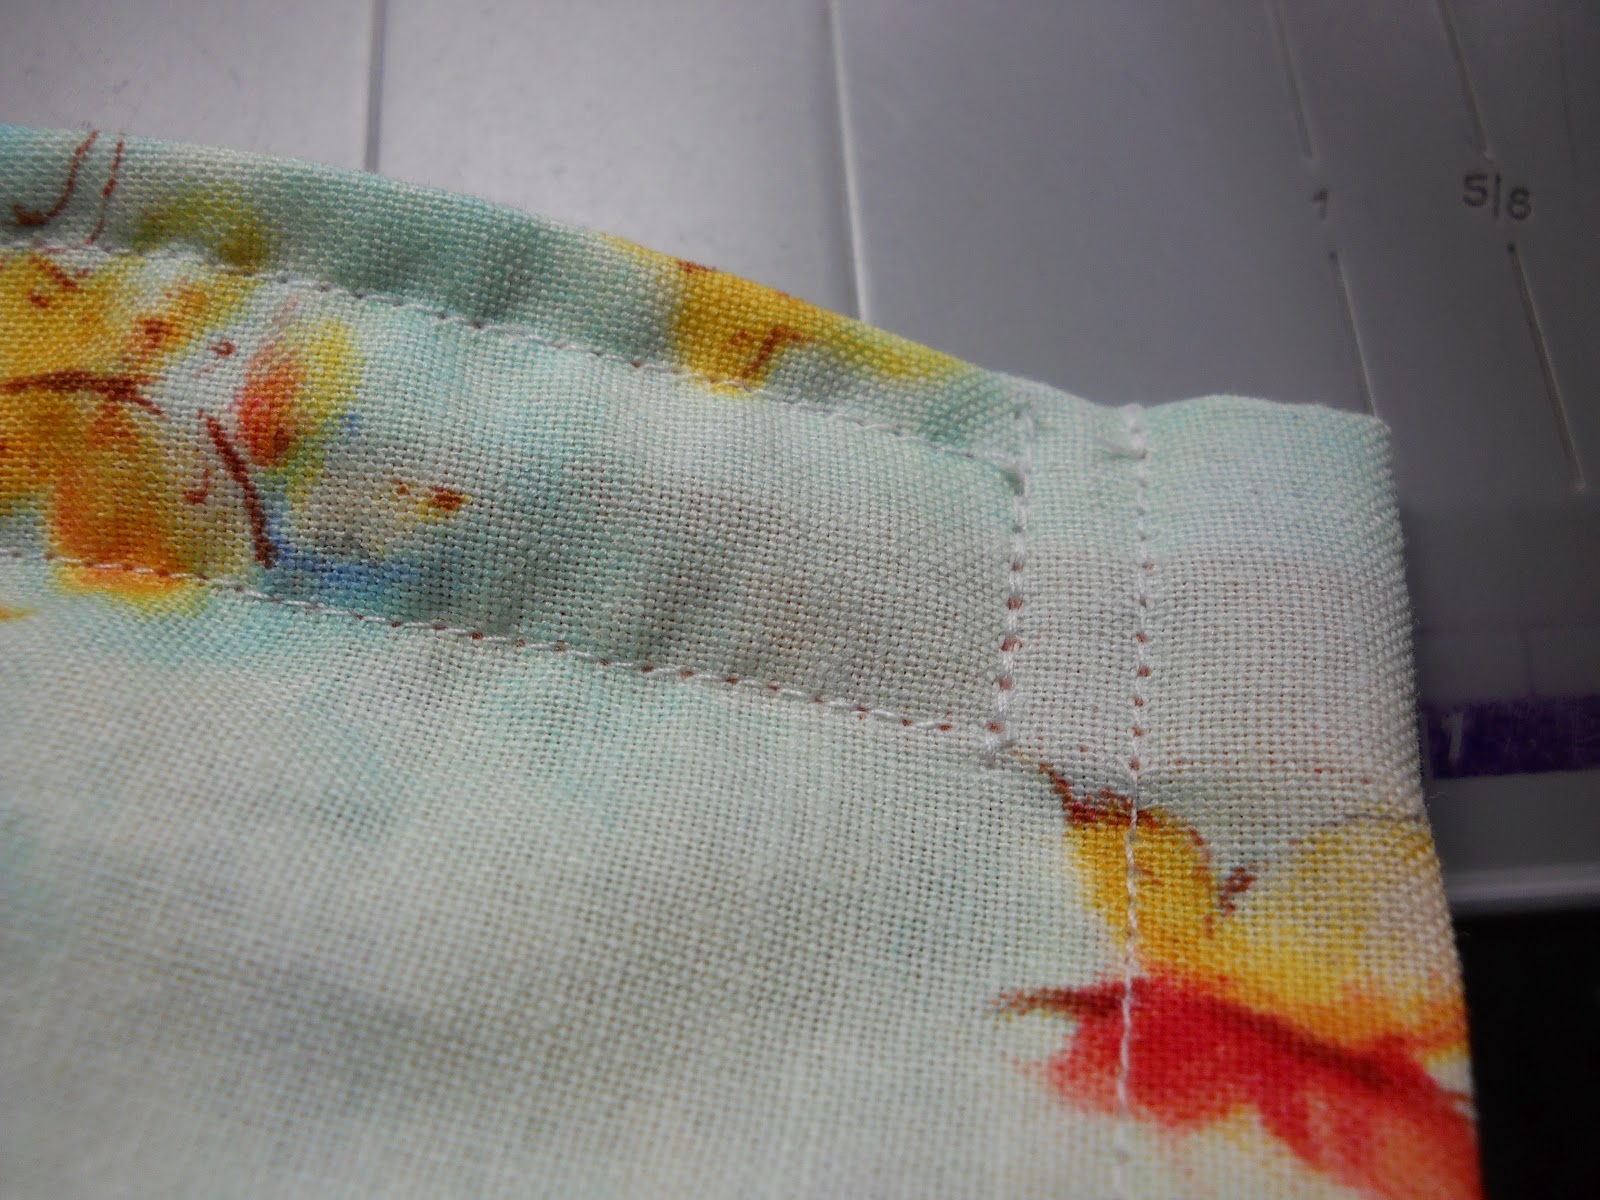
 Finish the snap tape edge near the hem line by stitching 2 rows across the tape abut 1/4 inch apart and then cut the tape close to the outside stitching.
The other side of the snap tape, the 'hole' side will go on the RIGHT side of the fabric. Fold and iron the edge of the leg inseam 1/4 inch towards the wrong side of the fabric, and then fold and iron again the width of the seam tape so that you have a sturdy edge to sew the seam tape to. The folded edge will be toward the wrong side but you will sew on the right side. I hope this makes sense!
Step 7:
Align the 'hole' side of the snap tape so that the snaps line up with the other side of the inseam. I find it easiest to align the crotch and work out from there on both legs. You can also snap up the tape, pin the second side in a few places and then unsnap it.

Follow steps 2 through 4 to complete the second side of the snap tape. All you need now is to finish the hem and you are done!

Snap tape must be prewashed because it shrinks. Very nice tutorial.
ReplyDelete